
Table of Contents
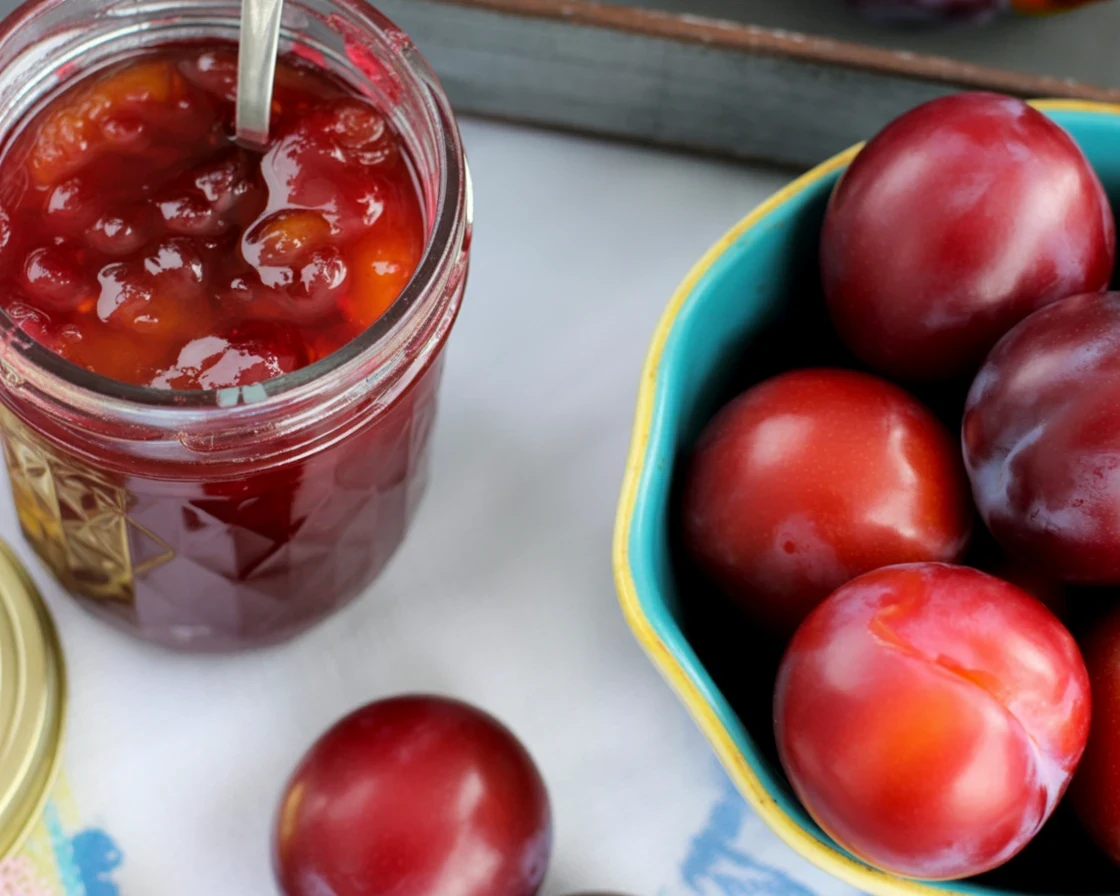
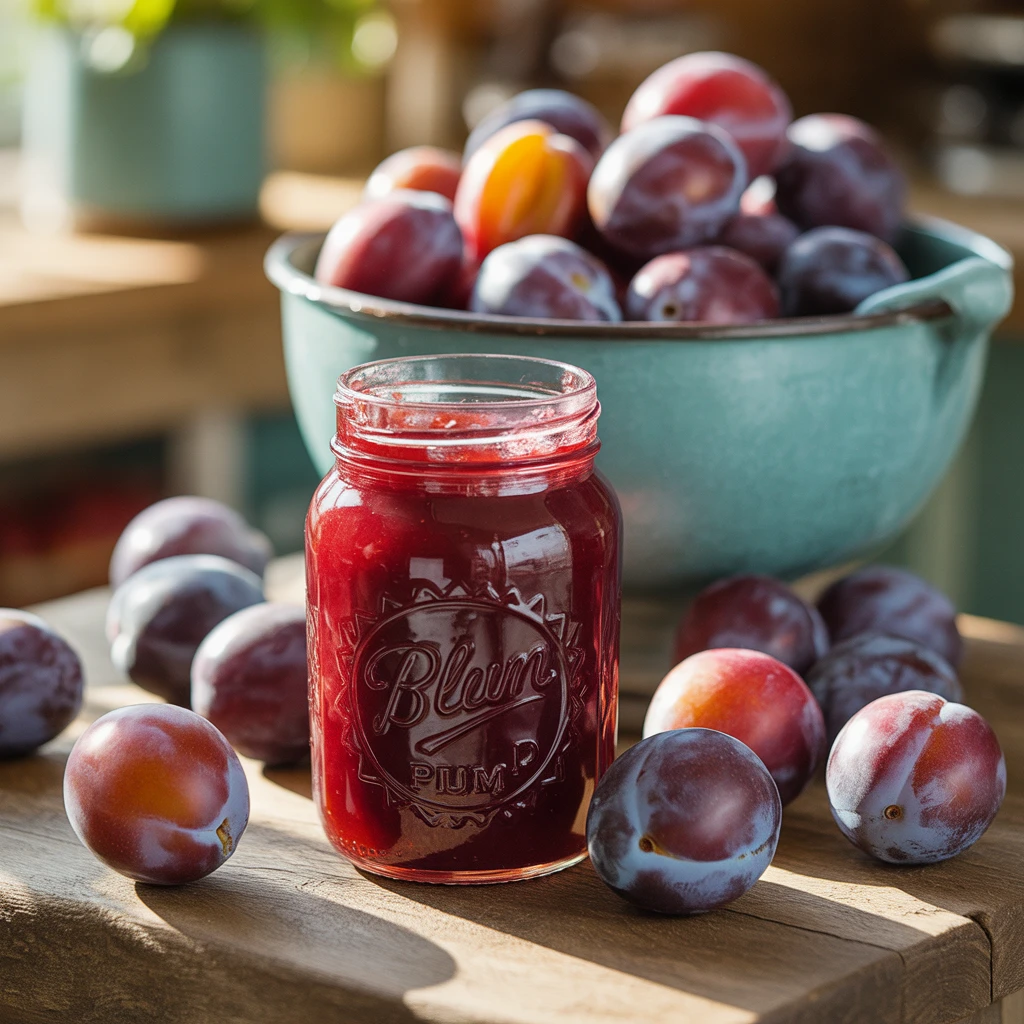
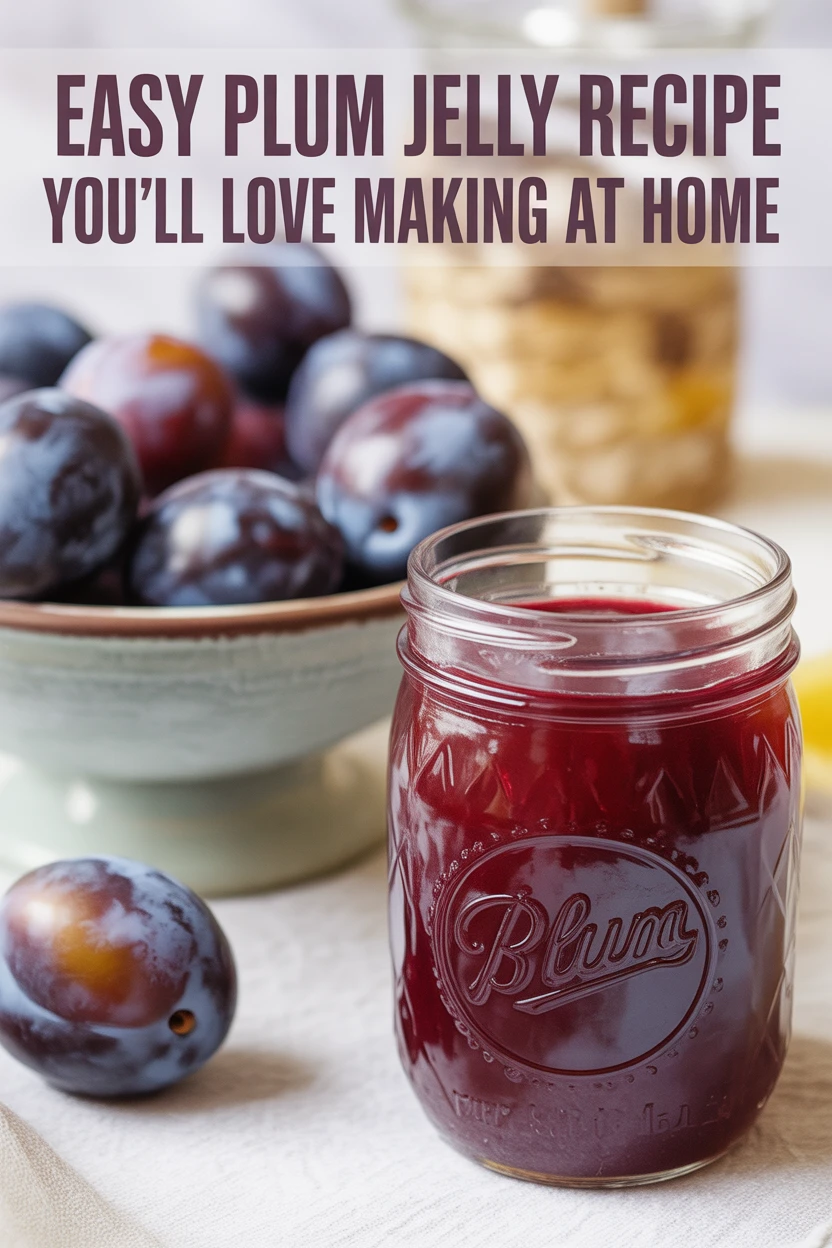
Ever find yourself standing in your kitchen around plum season, just staring at a box of fruit thinking, “What on earth do I do with all these plums?” Well, let me spill my secret: plum jelly recipe is the answer that changed all that for me. The first time I made this stuff, I stashed a few jars in the cupboard and honestly felt like a five-star chef. And get this, it’s way easier than you’d ever believe. Not to mention, the flavor? Cloud-nine level. If you like fruity treats, and maybe (like me) you’re obsessed with stuff like these peach cobbler cookies, you’re going to fall hard for plum jelly too.
Ingredients and tools you will need
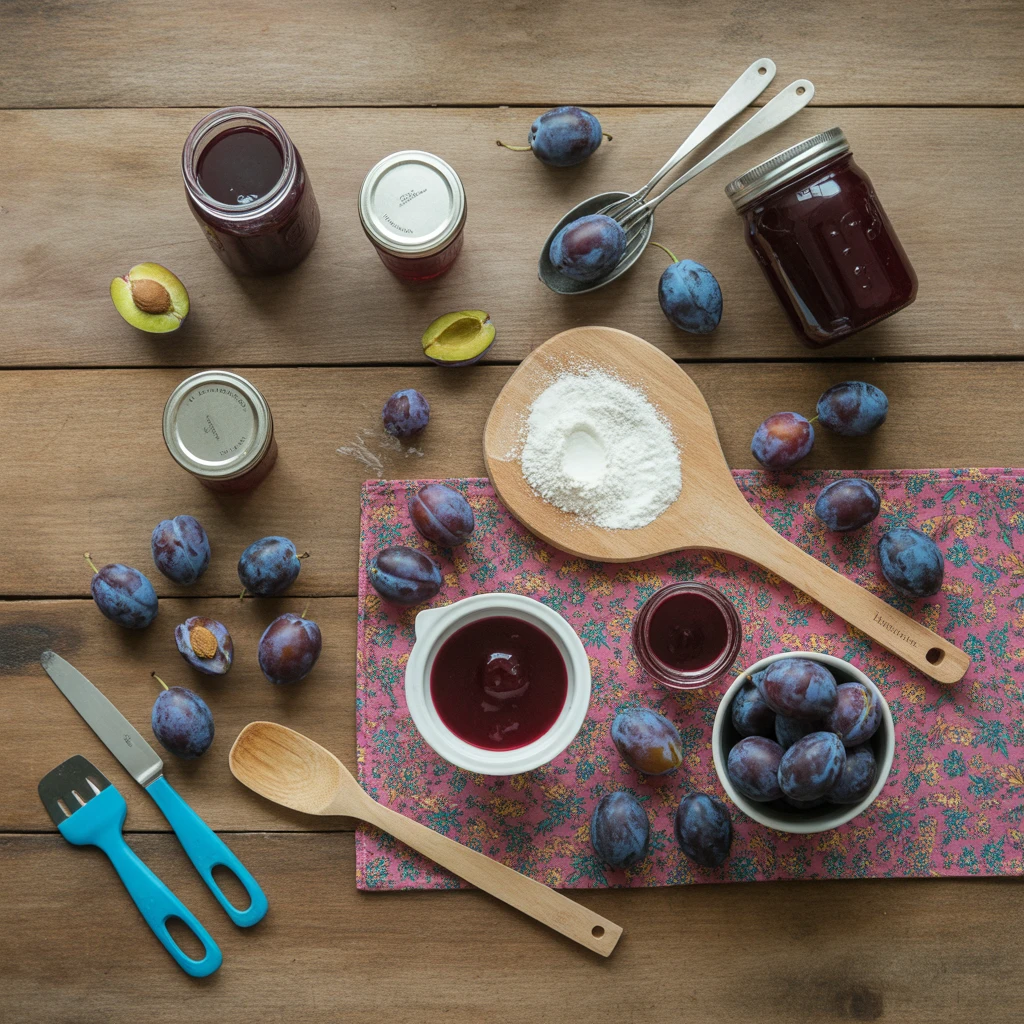
Alright, let’s talk basics. You’ll need a pile of fresh plums. Seriously, the riper the better but don’t go for the ones that are already half mushy either. Sugar. Quite a bit, sorry (no one said jelly was diet food). Some people add lemon juice for extra tartness—I say, try it both ways but I usually toss some in. Pectin is the magic powder that makes things jelly-like instead of plum syrup.
You’ll also want a big pot (be sure it’s not tiny, this stuff bubbles), a ladle, a strainer (if you don’t want bits), and jars with lids. Oh, and maybe an apron—spills happen. I learned the hard way that jelly and white shirts are mortal enemies.
Little side note: Clean your jars before you start. I got over-excited once, filled ‘em up, and realized I’d missed that part. Just trust me. No one likes jelly with “character” from yesterday’s dinner.
How to Make Homemade Plum Jelly
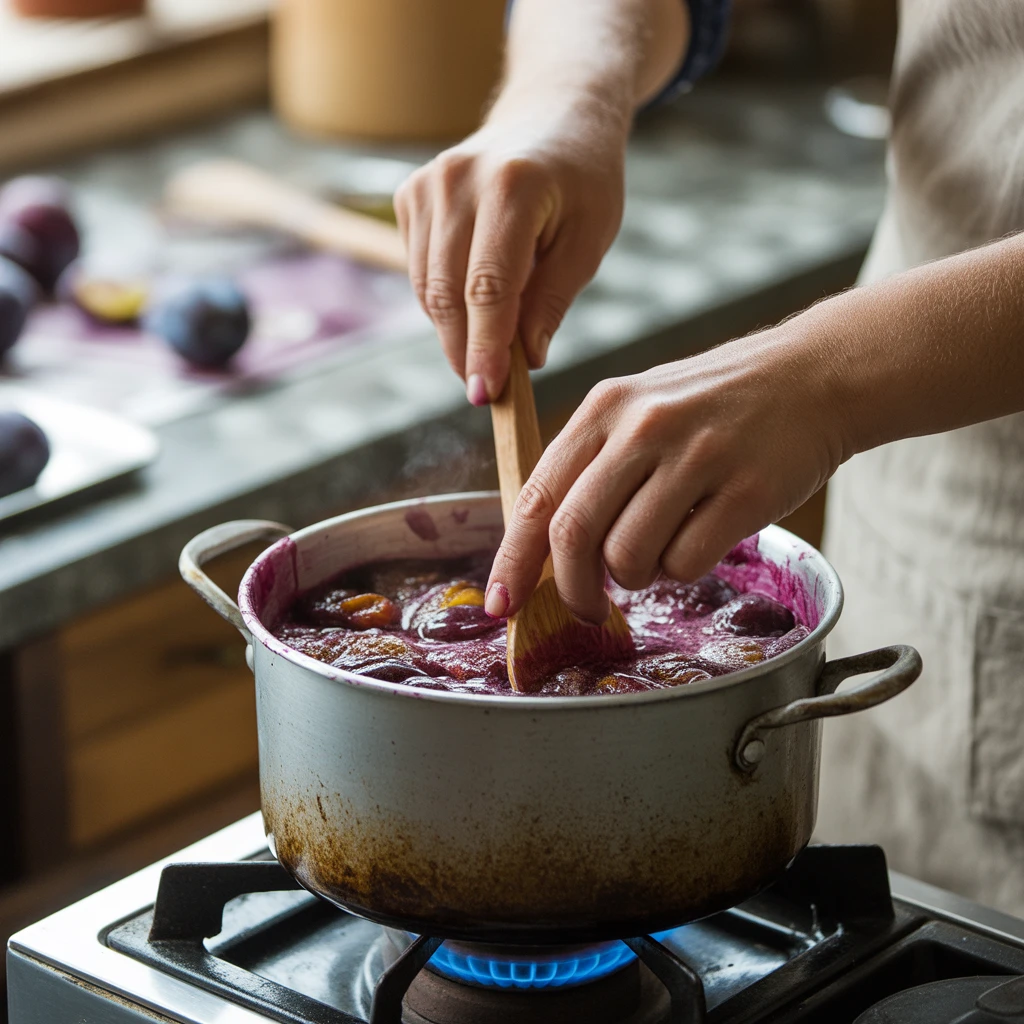
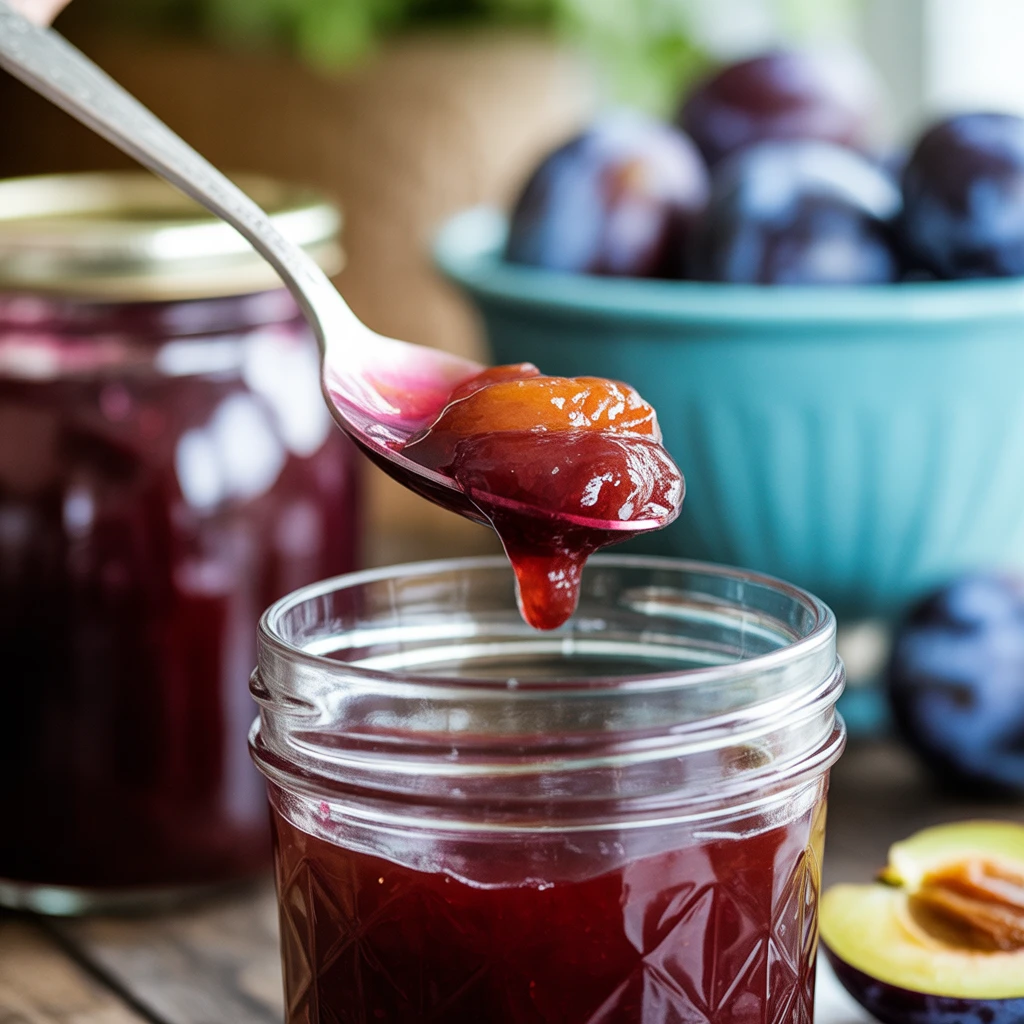
So here’s where the fun (and some minor chaos) begins. Chop those plums, pits and all. Yup, don’t even worry about pitting—less mess and flavor gets deep in there. Plop them in your pot with enough water to just cover. Boil. Simmer. Take a whiff. If your house doesn’t start smelling like a plum orchard, you did something wrong.
Once they’re soft, mush them a bit with a potato masher. Pour the whole juicy mess through a cheesecloth or strainer to snag the skins and pits. Now, pour that pretty juice back into the pot, add sugar (lots), a dash of lemon juice, and the pectin. Heat it, give a good, steady stir, and bring it to what my grandma called a “rolling boil.” Translation: bubbles don’t stop for anyone.
After a minute or so, you’re almost done! Skim off any weird foam and get ready to fill those jars. Full disclosure, my first time there was jelly everywhere. Don’t wear socks you love.
I never realized how doable homemade jelly was until I gave this a try. The directions were simple and the taste beats anything I’ve ever bought at the store. Plus, it’s kinda fun to hand out jars to friends!
How to preserve homemade jelly
Alright, so you put all that work in—let’s not let it spoil. Preserving homemade jelly freaked me out until I realized how straightforward it is. Just fill your hot, sterilized jars with that bubbling plum jelly, leaving a little space at the top.
Wipe the rims (seriously, don’t forget), screw those lids on not too tight. Then, pop ‘em in a boiling water bath for about 10 minutes. That “pop” sound when a jar seals? One of the best noises in the kitchen, honestly.
Cool the jars on a towel, somewhere draft-free. You’ll hear the seals click as they cool. If a jar didn’t seal, just eat that one first—like you needed an excuse.
How to test if the jelly is set
Ever spooned out what you thought was jelly… but it ran off your toast like syrup? I have—so here’s the trick: Before pouring, drop a little hot jelly on a cold plate. Wait a sec, then nudge it with your finger. If it wrinkles up, it’s ready. If not, give it another minute or two on the stove.
Some folks use a thermometer, but honestly, the “plate test” is less hassle and more foolproof for me. And if it doesn’t set… Relax. You just invented “plum sauce.” Make pancakes!
Storage, freezing, and canning instructions
If you did the water-bath step, homemade plum jelly keeps for months in a cool, dark spot. No fancy pantry? Shove jars in a closet or under the bed (I’m not judging).
For freezing, just use freezer-safe containers. Leave a little space at the top for expansion. I have a rogue jelly jar rolling in my freezer most of the year.
Fridge? Open jelly goes there. Good for three weeks easy, but it never lasts that long at my house. Sometimes I sneak a scoop with a spoon I’m not proud of it.
Serving Suggestions
- Spread on hot buttered biscuits for morning happiness
- Swirl through plain yogurt or oatmeal
- Pair with sharp cheese on crackers for lazy fancy appetizers
- Use as a glaze for roasted meats (surprisingly good, not joking)
Common Questions
Do I need to use special jars for canning?
Mason jars are ideal, but you can use any glass jar with a tight, new lid (no rusty recycling, please).
Can I make plum jelly with less sugar?
Sure, but it might not set as well. Consider extra pectin or just go for a softer, spoonable version.
What if my jelly does not gel after a day?
Honestly, it’s happened to everyone. Re-simmer with a bit more pectin, or consider calling it a “plum syrup” and pouring it over waffles.
Do you really need a thermometer?
Nope! Cold plate method works perfectly for home cooks. No gadgets required besides a timer and a plate.
How long does homemade plum jelly last?
Properly sealed jars will keep for up to a year. Unsealed or opened jelly needs the fridge, but you’ll probably eat it faster than that anyway.
Give Jelly-Making a Go!
I hope you see just how approachable and—dare I say—fun it is to whip up a batch of homemade plum jelly. Don’t overthink it. Sure, things might get sticky, but that’s half the adventure. For more inspiration, peek at the Homemade Plum Jelly Recipe | The Good Old Way or see another take at Homemade Plum Jelly – The Cooking Bride. Trust me, if you can make toast, you can make jelly. Grab those plums and go for it.